Jewelry making is a popular and rewarding hobby that allows you to create unique pieces that reflect your personal style. Whether you're a beginner or an experienced crafter, DIY jewelry making offers endless possibilities for creativity. In this article, we will explore various aspects of this art form, from the basics to more advanced techniques. We'll also discuss the different types of jewelry you can make and provide tips for selecting the right materials. So, let's dive in and get started on our DIY jewelry-making journey!
Understanding the Basics of DIY Jewelry Making
Before you embark on any DIY jewelry project, it's important to understand the fundamentals. Familiarizing yourself with the necessary tools will set you up for success, while following safety measures will ensure you can enjoy your crafting experience safely.
Jewelry making is a fascinating and rewarding hobby that allows you to create unique and personalized pieces. Whether you're a beginner or an experienced crafter, there's always something new to learn and explore in the world of DIY jewelry making.
Now, let's dive deeper into the necessary tools and safety measures that will enhance your jewelry making journey.
Necessary Tools for Jewelry Making
A basic jewelry-making toolkit consists of essential tools such as pliers, wire cutters, and round-nose pliers. These tools will help you manipulate wire, bend metal, and create intricate designs. Pliers are particularly useful for gripping and shaping various components of your jewelry.
In addition to the basic tools, there are specialized tools that you may want to consider adding to your collection. For instance, a crimping tool is essential for securing beads and findings, while a jump ring opener makes it easier to attach charms and pendants to your creations. A bead reamer is handy for enlarging bead holes, and a jewelry hammer allows you to texture and shape metal.
It's also handy to have a beading mat, storage containers, and a bead board for organizing and designing your jewelry. These tools will help you keep your workspace tidy and ensure that you can easily access your materials when needed.
As you progress in your jewelry making journey, you may find yourself exploring more advanced techniques that require additional tools. Don't be afraid to experiment and expand your toolkit as you gain confidence and expertise.
Safety Measures in DIY Jewelry Making
While jewelry making is a fun and creative activity, it's important to prioritize safety. By taking the necessary precautions, you can enjoy your crafting experience without any accidents or injuries.
Always wear protective goggles when working with tools to prevent eye injuries. Tiny metal fragments or beads can easily fly off and cause harm if they come into contact with your eyes. Additionally, wearing gloves can provide an extra layer of protection, especially when handling sharp objects or working with hot materials.
When using sharp tools such as wire cutters or needles, make sure to handle them with care and keep them away from children or pets. It's also advisable to work in a well-ventilated area to avoid inhaling toxic fumes from adhesives or polishing materials. If necessary, use a mask or work near an open window to ensure proper air circulation.
Furthermore, it's important to keep your workspace organized and free from clutter. This will minimize the risk of accidents and make it easier for you to focus on your jewelry making process.
Remember, safety should always be your top priority. By taking the necessary precautions and using your tools responsibly, you can fully enjoy the art of DIY jewelry making.
Exploring Different Types of Jewelry
Dive into the world of DIY jewelry and discover the endless possibilities of creating unique pieces. From bracelets to necklaces, and earrings to anklets, the choices are vast. In this section, we will focus on three types of jewelry: bracelets, necklaces, and earrings.
DIY Bracelets: Techniques and Designs
Bracelets are a great starting point for beginners. They can be made using various techniques such as stringing beads on elastic cords, using wire wrapping techniques, or even macramé knotting. Experiment with different materials, such as gemstone beads, glass beads, or metal charms, to create bracelets that reflect your personal style.
When it comes to stringing beads on elastic cords, you have the freedom to mix and match colors, shapes, and sizes. Create a vibrant bracelet by combining different colored beads or opt for a more minimalist look with a single type of bead. The elastic cord allows for easy wear and removal, making it a convenient option for everyday jewelry.
If you're interested in wire wrapping techniques, you can use various gauges of wire to create intricate designs. Wrap the wire around beads or create loops to connect different elements together. This technique adds a touch of elegance and sophistication to your bracelets.
For those who enjoy macramé knotting, you can create beautiful patterns and textures using different types of cords. Experiment with different knotting techniques, such as square knots or half-hitch knots, to achieve unique designs. Add beads or charms to your macramé bracelets to enhance their visual appeal.
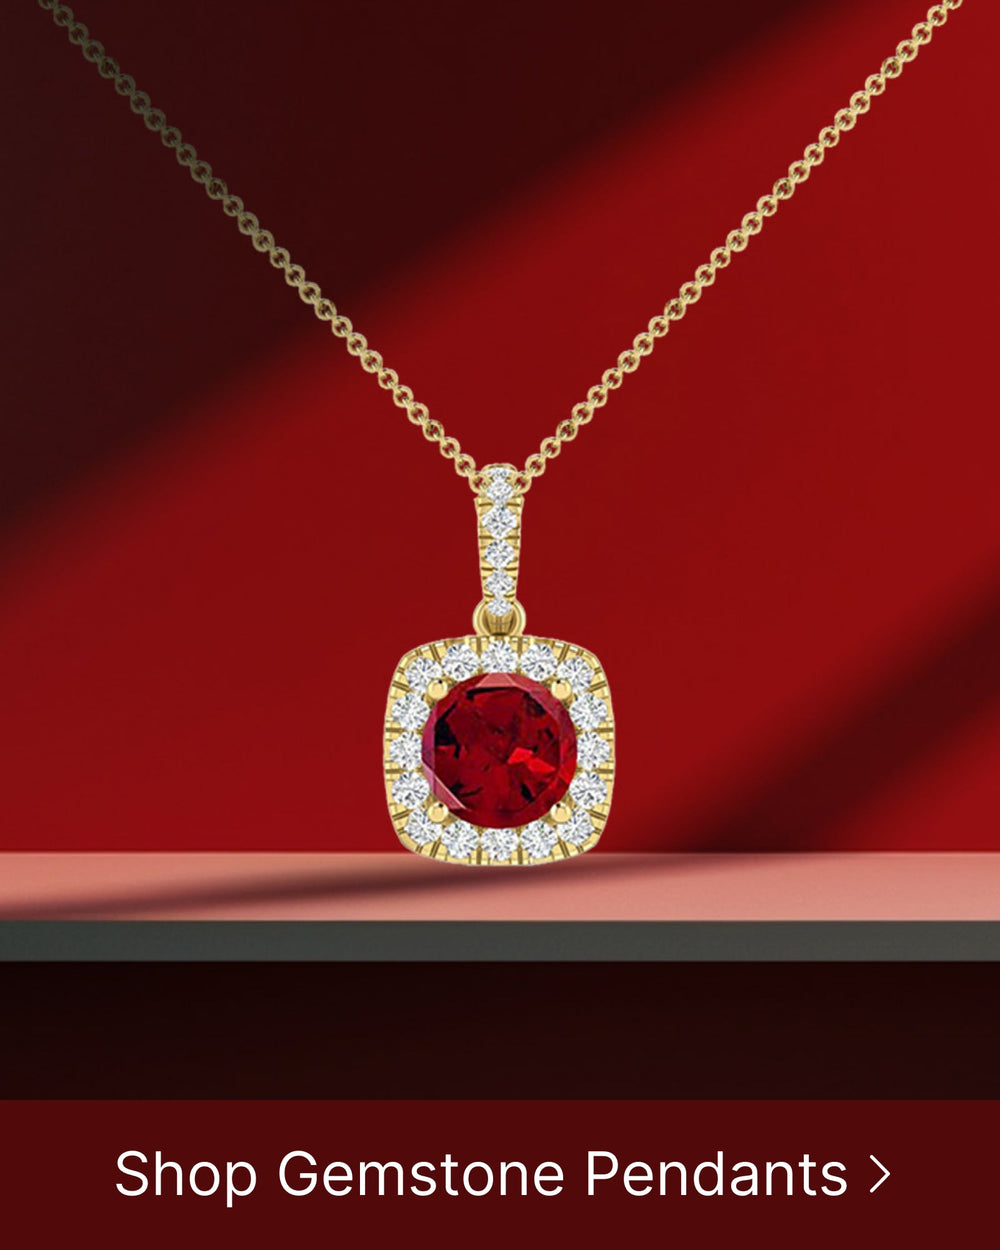
Making Your Own Necklaces: Steps and Tips
Necklaces are a versatile accessory that can be customized to suit any outfit or occasion. Start by selecting a pendant or focal point, then choose the appropriate necklace chain or cord. You can also add beads, charms, or even tassels to create unique designs. Explore different stringing techniques, such as knotting, to add texture and interest to your necklaces.
When selecting a pendant or focal point for your necklace, consider the shape, color, and meaning behind it. Choose a pendant that resonates with your personal style or holds sentimental value. This will make your necklace even more special and meaningful.
When it comes to necklace chains or cords, you have a wide range of options to choose from. Opt for a delicate chain for a dainty and feminine look, or go for a chunky cord for a more bohemian vibe. Consider the length of the necklace as well, as it can dramatically change the overall appearance and style.
Adding beads to your necklace can create visual interest and enhance its overall design. Mix and match different colors and sizes to create a unique pattern or opt for a single type of bead for a more minimalist look. You can also incorporate charms or tassels to add a touch of whimsy and playfulness.
Experiment with different stringing techniques, such as knotting, to add texture and dimension to your necklaces. Knotting between beads can create a visually appealing pattern and prevent them from sliding around. You can also use different types of knots, such as the lark's head knot or the square knot, to create interesting details.
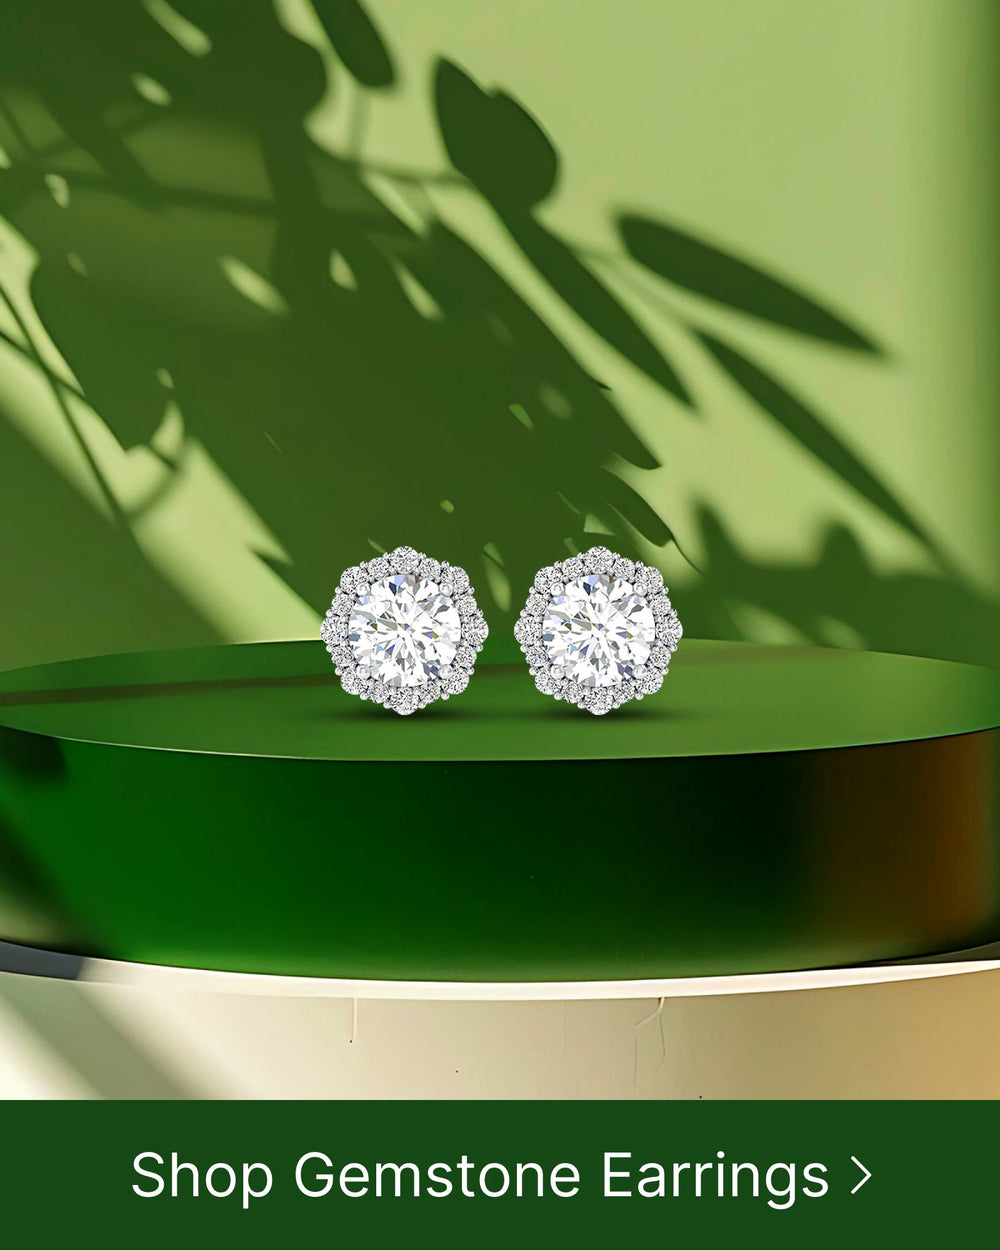
Crafting Earrings: Materials and Methods
Earrings are a fabulous way to showcase your creativity and add a personal touch to any outfit. Choose from a variety of earring styles, such as studs, hoops, or dangles. Use different materials like metal findings, beads, or even feathers to create earrings that make a statement. Experiment with wire wrapping or using jump rings to attach charms or beads to your earring designs.
Stud earrings are a classic and versatile choice. They can be simple and understated, or adorned with gemstones or pearls for a more glamorous look. Hoop earrings, on the other hand, can range from small and delicate to large and bold. They can be embellished with beads or charms to add a touch of personality.
If you prefer dangle earrings, you have endless possibilities for creativity. Combine different materials, such as metal findings, beads, and feathers, to create unique and eye-catching designs. Experiment with different lengths and shapes to find the perfect dangle earrings that suit your style.
Wire wrapping is a popular technique for creating intricate designs in earrings. Use thin wire to wrap beads or create loops to connect different elements together. This technique allows for endless possibilities and gives your earrings a handmade and artisanal feel.
Jump rings are another useful component when it comes to earring design. They can be used to attach charms or beads to your earrings, adding a touch of movement and visual interest. Experiment with different sizes and shapes of jump rings to create unique and personalized designs.
Advanced Jewelry Making Techniques
Once you've mastered the basics, you may want to explore more advanced jewelry-making techniques to challenge yourself and create more intricate designs.
Wire Wrapping for Intricate Designs
Wire wrapping allows you to create stunning jewelry pieces by manipulating wire around gemstones or beads. This technique can be used to create elaborate pendants, statement rings, or intricately woven bracelets. Experiment with different gauges of wire and various wrapping techniques to achieve the desired effect.
Bead Weaving and Its Applications
Bead weaving involves using a needle and thread to stitch together beads in intricate patterns. This technique is commonly used to create stunning bracelets, necklaces, or earrings with intricate designs. Explore different bead weaving stitches such as peyote stitch, right-angle weave, or herringbone stitch to create unique and eye-catching jewelry.
Selecting the Right Materials for Your Jewelry
Choosing the right materials is essential to create beautiful and durable jewelry pieces. With so many options available, it's important to consider factors such as the type of jewelry you want to make, the materials' quality, and your budget.
Guide to Choosing Beads and Gemstones
When selecting beads and gemstones, consider factors like size, shape, color, and durability. Decide whether you prefer natural gemstones, glass beads, or even crystal beads. Additionally, consider the quality of the materials to ensure the longevity of your jewelry.
Understanding Different Types of Jewelry Wire
Selecting the right wire is crucial for creating sturdy and well-made jewelry. Consider factors such as gauge (thickness), material (copper, silver, gold, or steel), and finish (bare, plated, or colored) when choosing the appropriate wire for your projects. Understanding the characteristics of different wire types will help you achieve the desired results.
Finishing and Polishing Your DIY Jewelry
Once you've completed your jewelry piece, it's time to add the finishing touches and polish it to perfection. These final steps will enhance the overall appearance and durability of your creation.
Techniques for Polishing Handmade Jewelry
Polishing your jewelry not only gives it a professional finish but also helps remove any scratches or imperfections. Use jewelry polishing cloths or cleaning solutions specifically designed for the materials you're working with. Take extra care with delicate gemstones or plated materials to avoid damaging them during the polishing process.
Adding Clasps and Other Finishing Touches
Adding clasps and other finishing touches is essential to ensure that your jewelry is wearable and secure. There are various types of clasps available, such as lobster clasps or toggle clasps, that provide both functionality and aesthetics. Additionally, consider adding jump rings, crimp beads, or bead caps to add extra flair to your designs.
With these tutorials and projects, you now have a solid foundation for exploring the world of DIY jewelry making. Whether you're creating pieces for yourself or as gifts for loved ones, the joy of wearing something you've made is truly unmatched. So, gather your tools, select your materials, and let your creativity shine through your unique jewelry creations!